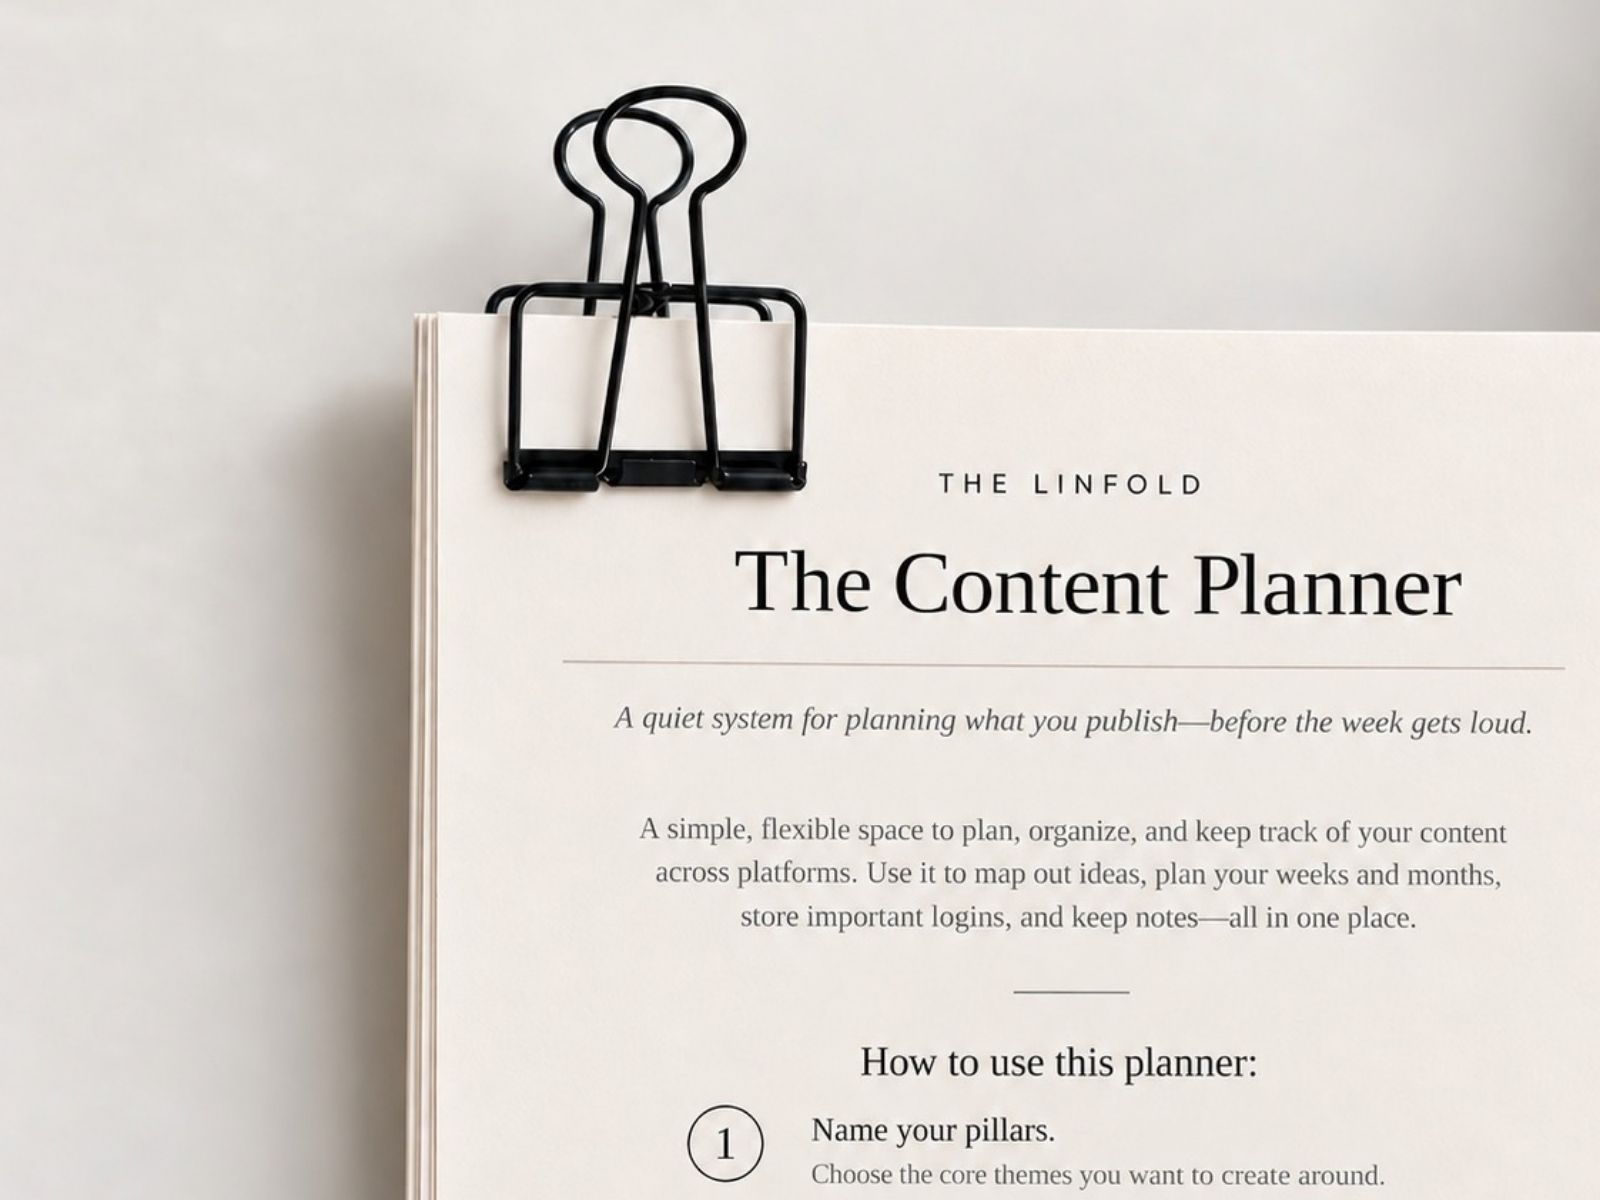
A weekly content calendar only has to answer four questions: what you’re publishing, where it goes, what it’s for, and when you’ll make it. Here’s how to build one in about half an hour, with a filled-in week you can copy.
Content calendars tend to fall apart the same way. They get built on a quiet Sunday, packed with good intentions, and quietly abandoned by a busy Wednesday. The fix usually isn’t a better template. It’s a smaller, more honest plan that still works when the week doesn’t go your way.
This guide walks through that plan step by step. You can build it on paper, in a spreadsheet, in Notion or in a notes app. The routine matters more than the tool.
What a weekly content calendar is for
Think of it as a record of decisions for one week. It holds only what you’ve committed to making and publishing in the next seven days.
It is not your idea list. Ideas belong somewhere else: a running page, a note, the back of a notebook. When every idea lives on the calendar, the calendar starts to feel like a list of things you’re behind on. Keep the two apart and the calendar stays short enough to trust.
Before you start: plan for your usual week
Count how many pieces you can finish in a normal week. Not your best week, the one where nothing goes wrong. Your usual one, with appointments, client work, family plans and the errand that always takes longer than it should.
Then plan one fewer. That spare slot is what keeps the calendar alive when something shifts.
A simple rule: if you finish fewer pieces than you planned two weeks in a row, reduce next week’s plan by one. You can always add it back once the smaller plan feels easy.
Step 1: Set up four columns
Make a table with one row for each day you work and these four columns:
- Piece. The specific thing going out, written as a working title. “Pin about pricing” is vague. “Pin: three questions to ask before you set a price” tells future you exactly what to make.
- Channel. Where it’s published: your website, Pinterest, Instagram, your email list.
- Purpose. What you want the piece to do. Pick one: help someone, start a conversation, earn a save, invite a signup or support a purchase. One purpose per piece keeps the call to action clear.
- Make by. The day you’ll create it, which is often a day or two before it goes out.
The day of the row is your publish date. The Make by column is the one people tend to skip, and it’s the reason a lot of calendars stall. A publish date with no making time behind it rarely holds.
Step 2: Choose one anchor piece
Pick the one idea that will get the most of your attention this week. Usually that’s a blog post or a newsletter, something with room to explain an idea properly.
If you’re stuck, choose a question someone has asked you recently. A client’s question, a comment, a message from a friend. A real question gives you a real reader, and it’s easier to write for one person than for “my audience.”
Step 3: Build the rest of the week from the anchor
Instead of inventing a new topic for every channel, give the anchor several shapes. A blog post can become a pin with one takeaway, a carousel that walks through the steps, and an email with the story behind it.
Each version should still be useful on its own. Someone who sees only the pin should learn something, even if they never click. That’s what makes the smaller pieces worth saving and sharing.
Step 4: Mark a fallback
Add one line at the bottom of the week: If this week falls apart, what still goes out?
Usually it’s the anchor and one way of sharing it. Deciding this in advance means a sick child, a deadline or a slow week doesn’t turn into a week of nothing. You already know the smallest version of the plan that still counts.
A filled-in example
This example is fictional, made up for illustration. Maya is a freelance graphic designer building a week around one article. The full plan includes a Pin, a carousel and an email. Her fallback is the article and email only.
| Day | Piece | Channel | Purpose | Make by |
|---|---|---|---|---|
| Mon | Writing block: draft the anchor post | None | None | Mon |
| Tue | Post: What to send your designer before a logo project | Website | Help someone | Mon |
| Wed | Pin: three things to gather before a logo project | Earn a save | Tue | |
| Thu | Carousel: the three things, one slide each | Start a conversation | Wed | |
| Fri | Email: the post, plus the question that inspired it | Email list | Invite a reply | Thu |
Maya’s fallback: the post on Tuesday and the email on Friday. If client work takes over, the pin and carousel move to next week.
Notice what isn’t here. No daily posting, no new topic for every channel, and nothing scheduled for the weekend. One idea does most of the work, and the plan fits the hours she has.
Step 5: Review it in five minutes on Friday
Before you plan the next week, look back at this one and answer three questions:
- What went out?
- What didn’t, and what got in the way?
- What’s worth repeating?
Move anything unfinished back to your idea list instead of carrying it straight into next week. Some pieces deserve another try. Others were only urgent because they were written on Monday’s plan.
When the calendar keeps slipping
- You miss one day and drop the whole week. Go straight to your fallback. One finished piece keeps the routine going.
- You have too many ideas to choose from. Pick the one you could explain to a friend in two minutes. The rest stay on the idea list, where they’re safe.
- Every piece takes longer than planned. Keep the Make by dates and reduce the number of pieces. Accurate timing matters more than volume.
Paper, spreadsheet or app?
Use whichever one you’ll open on a busy Tuesday. A sheet of paper with the four columns works. So does a simple spreadsheet.
If you’d like a printable version ready to go, The Essential. is the one we make: a five-page digital download with a Monthly Overview, a Weekly Focus page with a day-by-day table for pillar, platform and topic, and a 12-line Idea Bank for everything that isn’t this week’s work.
Your next step
For this week, fill in just two things: your anchor piece and your fallback. That’s a real plan, and it’s small enough to keep. Add the other channels once those two feel routine.
Keep reading